Step-by-Step Guide: What to Expect During a DVT Ultrasound Scan
Deep vein thrombosis (DVT) is a serious condition that occurs when a blood clot forms in one or more of the deep veins in your body, typically in your legs. To diagnose DVT and ensure timely treatment, doctors often recommend a DVT ultrasound scan. In this comprehensive guide, we will take you through the step-by-step process of what to expect during a DVT ultrasound scan, allowing you to be prepared and informed.
Understanding DVT Ultrasound Scan
A DVT ultrasound scan is a non-invasive imaging test that uses high-frequency sound waves to create images of the blood flow in your veins. This painless procedure helps doctors visualize and identify the presence of blood clots or any other abnormality in the deep veins. It plays a crucial role in diagnosing DVT accurately and enabling prompt treatment.
Step 1: Pre-Scan Preparation
Before the scan, your doctor will provide you with specific instructions to ensure optimal results. It’s essential to follow these instructions carefully. Typically, you may be instructed to:
- Wear loose-fitting and comfortable clothing, allowing easy access to the area to be scanned, usually the legs.
- Avoid applying lotions, oils, or creams to your skin on the day of the scan.
Step 2: Arrival and Check-In
On the day of the scan, arrive at the medical facility on time. Check-in at the reception and complete any necessary paperwork. Be sure to inform the medical staff about any allergies or medical conditions you may have.
Step 3: Preparing for the Scan
After check-in, a technologist or a sonographer will escort you to the examination room. They will explain the procedure to you and address any concerns or questions you may have. The technologist will ask you to change into a gown if necessary and position yourself comfortably on the examination table.
Step 4: Application of Gel and Transducer
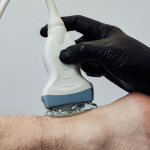
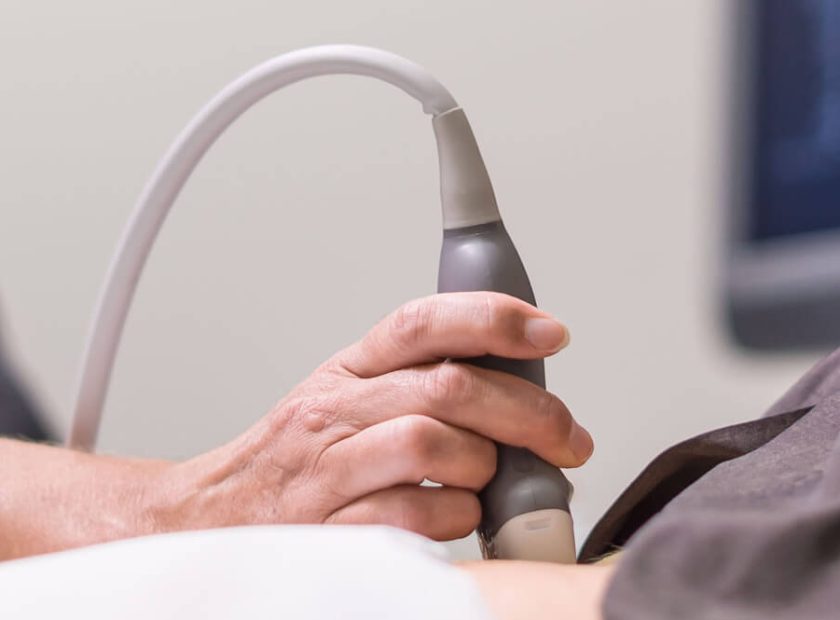
The technologist will apply a clear gel onto the area of interest, typically the leg. This gel helps the transducer to make smooth contact with your skin and improves the image quality. The transducer, a small handheld device, emits sound waves and captures the returning echoes to create real-time images on a computer monitor.
Step 5: Scanning Process
The technologist will gently move the transducer over the area being examined, applying slight pressure. They may ask you to hold your breath momentarily during the scan to minimize any potential motion artifacts. The technologist will scan different sections of the legs to get a comprehensive view of the deep veins.
Step 6: Image Evaluation
As the scan progresses, the technologist will analyze the images in real-time to assess the blood flow and identify any abnormalities, such as blood clots or blockages. This evaluation process requires expertise and a trained eye to ensure accurate and reliable results.
Step 7: Post-Scan Instructions
Once the scanning is complete, the technologist will clean off the gel from your skin. You can then change back into your regular clothes. The technologist will provide you with any necessary post-scan instructions, which may include resumption of normal activities and any precautions or additional tests that may be required based on the findings.
Conclusion
A DVT ultrasound scan is a crucial diagnostic tool used to detect deep vein thrombosis, a potentially serious condition. By following this step-by-step guide, you now have a clear understanding of what to expect during a DVT ultrasound scan. Remember, early diagnosis and treatment of DVT can significantly reduce the risk of complications. Should you have any concerns or questions, reach out to your healthcare provider.


